

Archives: November 2015
Are you thinking about installing or replacing the tile in your home and not sure if you want to DIY or hire a professional tile installation specialist? The experts at A & E Painting & Renovations are your #1 resource in flooring installation in Houston, Texas and the surrounding areas.
Types of Tile Flooring
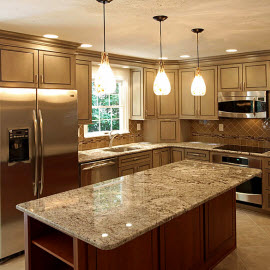
There are many different types of tiles available on the market such as stone, ceramic and porcelain. Floor tiles are resilient and you never have to worry about moisture caused by stains or spills. Tiles have a hard surface covering and are the number one flooring choice for areas such as kitchens, entryways and bathrooms in Houston, Texas and the surrounding areas
Reasons to Hire a Professional to Install your Tile Flooring
Poor installation can ruin the appearance of tile flooring, walls or backsplashes. If you are going to spend you hard earned dollars on tile such as stone, ceramic or porcelain, it’s definitely worth your while to invest your money in the expertise and craftsmanship of an A & E Painting & Renovations specialist.
• Protect the product warranty – many tile manufacturers will not cover tile or grout that develops damage due to improper installation.
• Fast tile installation – professional tile installation means you can save your valuable time and money and should any unexpected issues arise, your professional tile installation specialist has the training, knowledge and experience to take care of them immediately.
• Specialized tile and grout installation equipment – Cutting, setting, and grouting tile requires special tools and a precise eye. A professional tile installation specialist has all the tools needed to spread mortar & grout, get smooth tile edges, and make precise cuts guaranteed to fit irregular shaped spaces.
• Reduce tile waste – professional tile installation will include taking precise measurements and calculating the materials needed to keep your product costs down. Plus there will be fewer tiles wasted due to incorrect cuts and broken tile.
• Prevent future water damage – if your tile isn’t installed or grouted correctly, water can enter cracks which can lead to mold and mildew forming in your walls and flooring.
If you are planning to install ceramic floors as a DIY project, the knowledgeable tile installation specialists at A & E Painting & Renovations have provided 5 tips to help make your tiling project a success.
• Don’t forget to remove the baseboard – leaving the baseboard on when installing tile can add additional hours of cutting and measuring. If you remove the baseboard, your measurements and cuts don’t have to be perfect or precise but you still run the risk of wasting tiles with accidental breaks due to inexperienced handling of equipment.
• Position the first row of tiles with guide boards – Chalk is the most affordable practice for positioning the first row but can be problematic if your tiles move when you try to position the second row. Arrange the first tile with the aid of guide boards which although time consuming will it will stop the tiles from moving out of place.
• Use a diamond blade grinder for tougher cuts – although a grinder is not exactly ideal for cutting tiles since it has a tendency to leave tile edges jagged or chipped and will also leave a dust cloud, it is the best tool to shape curves or make cuts that other domestic tools can’t cope with.
• Hold back from too much tile cutting – cutting is definitely a necessary part of tiling but you should minimize your tile cutting as much as you can. Tile cutting is tedious and back breaking work and cut tiles never look as appealing on the floor as a full size tile. Even placing cut tiles out of site can diminish visual appearance of your floors
• Slow drying works best – To avoid potential problems with your tiled floors drying too quickly, mix latex additives with the thin-set rather than water.
For skilled installation of all types of tile contact the experienced and professional tile installation specialists at A & E Painting & Renovations today in Katy, Houston, Tomball & Stafford Texas!
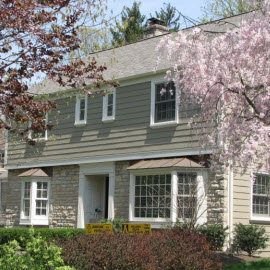
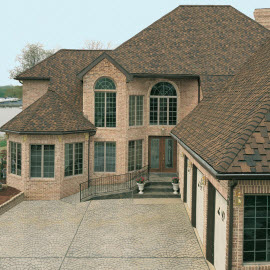
Your home’s siding adds a degree of curb appeal to your home but more importantly, your home’s siding provides protection from the elements. The type of siding available for you to choose from has a great deal to do with the climate that you live in and your available budget. Siding certainly varies by the type of material you choose and the installation process as well as expense. Siding that is reasonably priced, will endure the elements and last for years, is something you will want to consider.
The skilled renovation experts at A&E Painting & Renovations believe that education is the key to choosing the best type of siding for your home. Some of the most common types of home siding and the climates they are best suited to include:
Vinyl Siding Installation & Maintenance
Vinyl siding is one of the least expensive home siding options. It is best suited for warm, humid climates and is not recommended for cold-winter climates since it does not stand up well to harsh winter elements. Vinyl siding is a popular option in the southern states because of its high resistance to humidity, easy installation and inexpensive pricing.
Some of the benefits of vinyl siding include:
– Will not flake or rot
– Stands up well to heat and wind
– Available in a range of colors and designs
– Can resemble wood grain or vintage styling in appearance
– Requires only occasional maintenance
Stucco Siding Pros & Cons
Stucco is one of the best options available for homeowners in dryer climates such as those living in the Southwest. Stucco is inexpensive but labor cost associated with installation can be high. Stucco can be painted to blend with your individual taste and style. Stucco does not perform well in humid climates or areas that experience frequent rainfall because the wood framing underneath is susceptible to moisture which causes mold and rot. In the right climate, stucco can last 50+ years and is low maintenance requiring only occasional sandblasting and a new coat of paint to keep it fresh and looking great.
Masonry Siding Advantages & Disadvantages
Masonry consists of stone and brick siding and is one of the most expensive siding options available. Look-alike versions are a popular choice for homeowners due to the much lower price points. Stone veneer is one such popular option that is strong and performs especially well in hot climates but the down side of stone veneer is it can chip and wear down in the elements. Stone, brick and veneer can develop mold and will require maintenance but with the right care, masonry can last for 100+ years
Cost of Wood Siding
Wood siding is another expensive option and will last for many years when given care and regular maintenance. Some things to consider before installing wood siding are:
– Known to crack, split and mildew in humidity
– Available in pine, spruce, fir, cedar and redwood
– Available in pre-primed planks, shakes and shingles
– Comes in pre-primed planks, shakes and shingles
Wood siding is not recommended for humid climates because it is susceptible to moisture which can result in mold and mildew. When used in cooler climates, wood siding requires very little maintenance other than power washing, staining and a quality sealant
Engineered Wood Siding Reviews
Engineered wood is a great choice for hot, humid climates and is designed to withstand the elements. Some additional benefits include:
– Easy installation
– Pre-treated with anti-fungal repellents and insecticides
– Handles moisture, mildew and termites
– Repels the sun, storms and other chemicals
Engineered wood siding also performs well against splitting, cracking and storm damage
Metal Siding Details
Metal siding is most often used in ranch homes and second-story additions and is a particularly popular choice in southern tropical climates because of its ability to handle extreme elements.
Metal siding is:
– Available in a wide variety of colors and different textures
– Closely resembling wood in some designs
– Reasonably priced
– Easy to install when compared to other types of available siding
– Available in either steel or aluminum
– Wind resistant and maintenance free
– Perfect choice for climates that experience hurricanes and stormy weather conditions
Fiber Cement Siding Pros & Cons
Fiber cement siding is commonly referred to as hardie board siding and consists of a mixture of wood fibers, cement and sand. Fiber cement siding is durable, resistant to termites and rotting and is also resistant to salt and windy conditions; making it the perfect choice for homeowners who live on the coast near the ocean. Fiber cement siding is available in a wide selection of colors and although low maintenance can be difficult to repair if damaged.For Professional Siding Consultation, Inspection, Installation, Replacement, Emergency Repair & Preventative Maintenance, call A&E Painting & Renovations Serving in Katy, Houston, Tomball & Stafford Texas
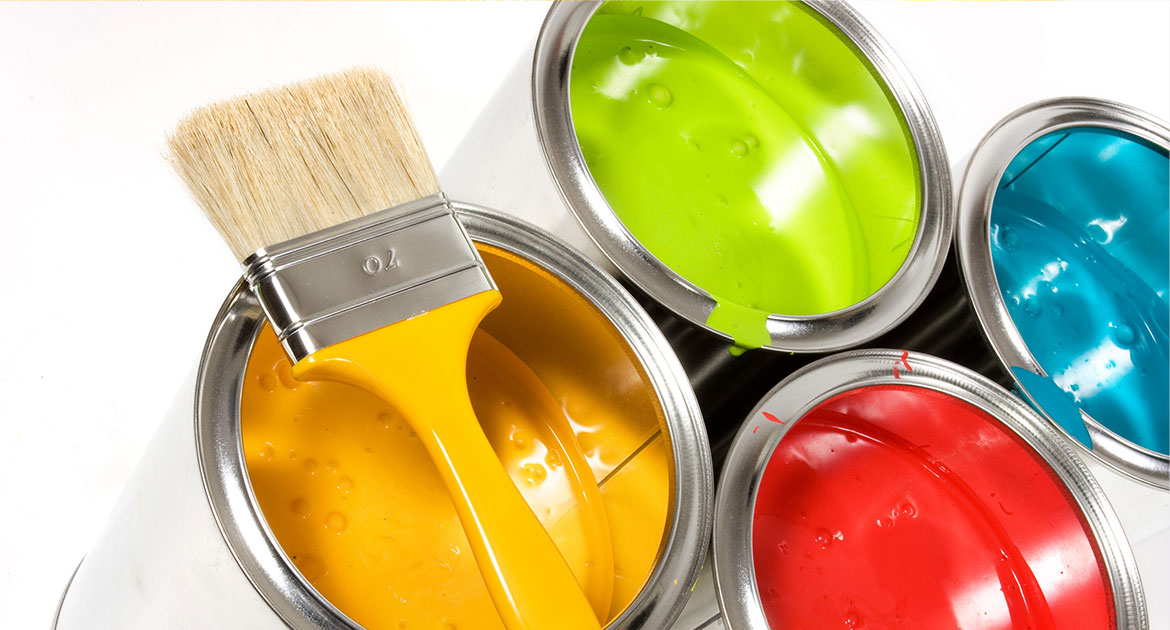
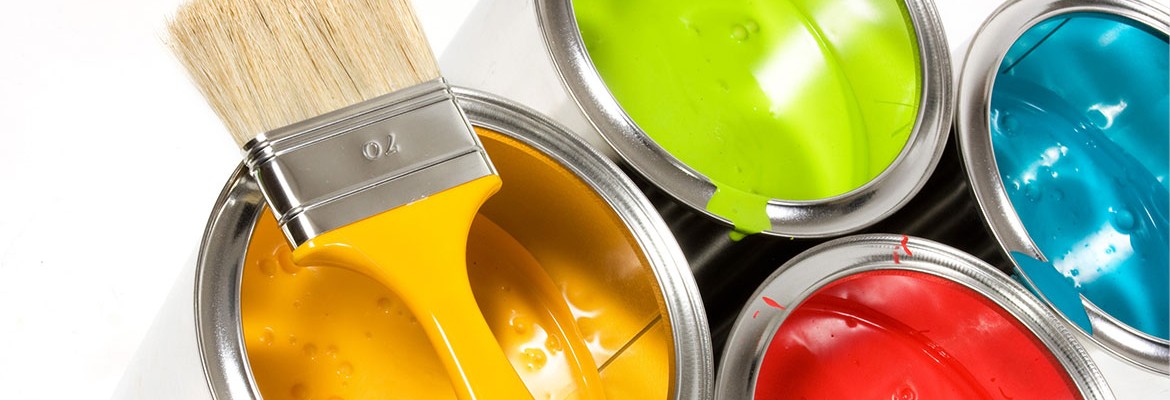
Painting the inside of your home is a great way to add another aspect of décor, lighten up a room or match the furniture you have just purchased. Not only does a new coat of indoor paint improve the look of your home but it can also increase your home’s overall value. Painting the inside of your home is a great way to get it ready to be put on the market. A buyer is much more likely to be attracted to a home that has a fresh coat of paint in each room as this will give the home a new feel and make it more attractive.
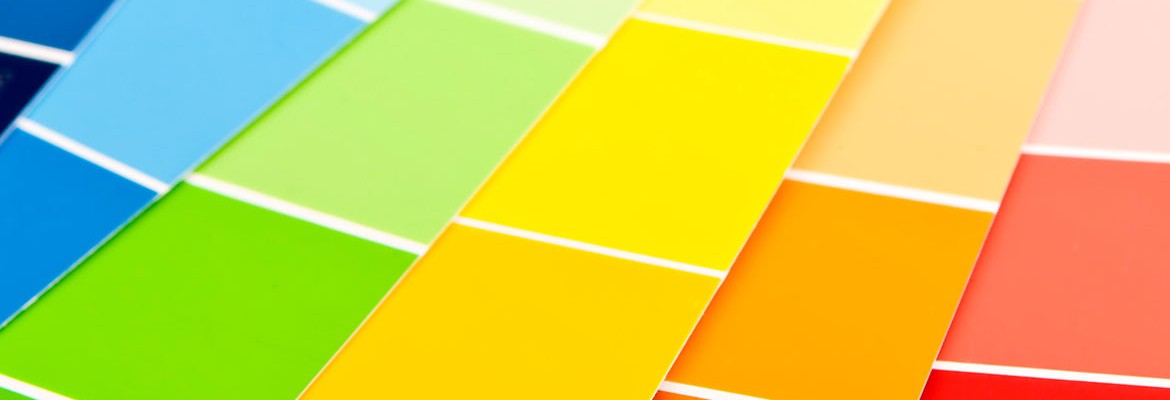
Interior Paint Color Choice
While painting the interior of your home may seem like a simple job, there are a few aspects to consider before you decide on color. Whether you want to add energy to a dull room or attempt to calm down a room that is always hectic, the colors you choose will determine the mood of the room that you put them in. Paint Color choice is just as important as choosing a new couch for the living room; it can determine the feel of the room and if you paint the wrong colors in your home, it can become unattractive.
Painting Wall Children’s Rooms & Accent Walls Orange
While orange may not seem like a logical choice of color to put on a wall in your home, consider these bonuses to the color orange. Orange is a vibrant hue that reduces self consciousness and allows you to be yourself with confidence. Orange is a color of laughter and celebration and can make you feel younger. Orange is a great color to use in your child’s room on an accent wall. It is a color that pops and adds character to a room.
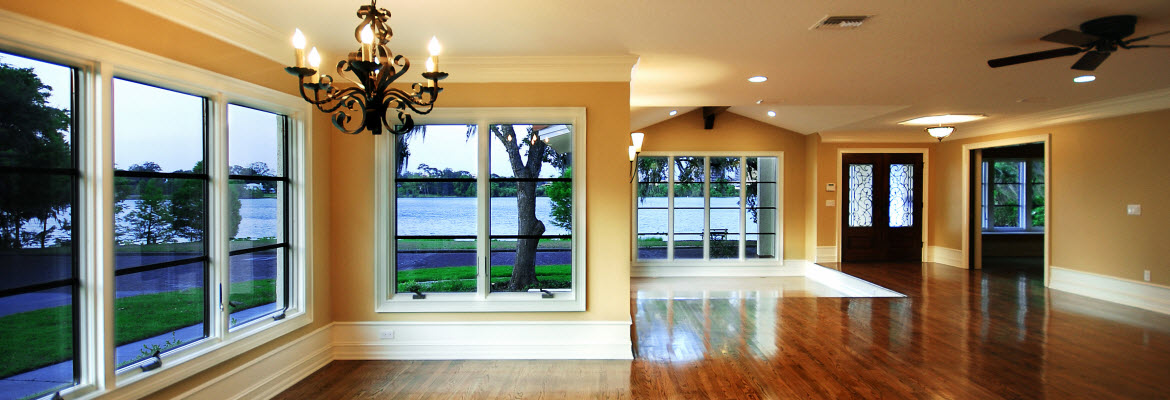
Dark Blue Paint for Bedrooms, Living Rooms & Offices
A dark or deep blue color is also a popular shade to choose when deciding on interior paint color. Deep blue has been known to purify thinking and gives home owners the ability to cut through clutter and discover what is most important to have in the home. A dark or deep blue color of paint is a great choice for a formal living room, a bedroom or an office. A popular choice is to couple this color with a more neutral shade and create an accent wall, or paint pop outs in the home with the accent color.
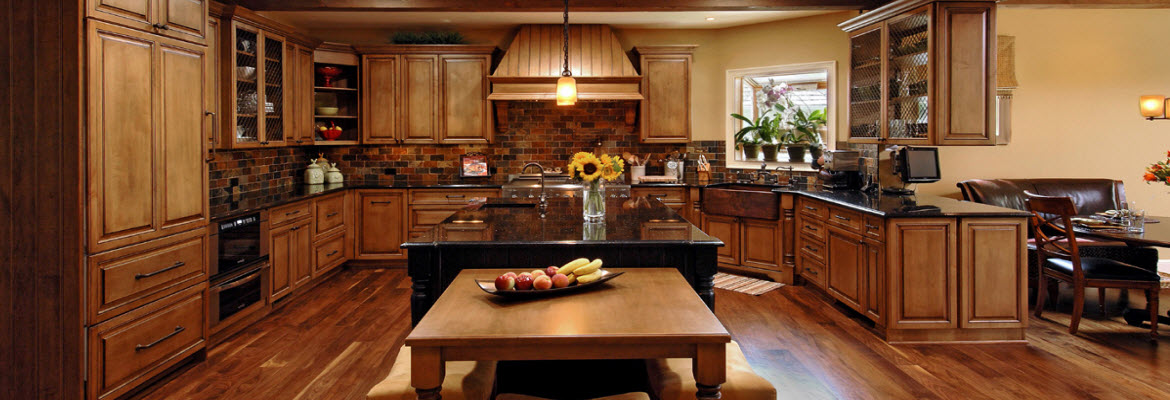
Painting Kitchens & Rooms Green
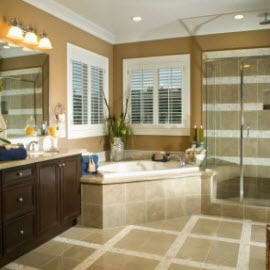
Green is a popular color to add to your kitchen as it a color that represents fresh starts, growth and nourishment. Green is also a popular color to add to your bathrooms.
Professional Color Consultations, Interior & Exterior Painting & Home Remodeling Improvements in Katy, Houston, Tomball & Stafford Texas
No matter what color you decide on for the interior paint of your home, contact A&E Painting and Renovations to professionally paint the interior of your home and leaving it looking more beautiful than ever.
After checking off another home improvement project, you look around and eye the back entrance, and after a bit of deliberation, you decide putting in a concrete patio would make barbecuing a lot more easy and perhaps it will give the kids a miniature area to shoot hoops. No matter the reasons, you need a concrete patio, and are seeking steps and a few tips to achieve your goal.
A&E Painting and Renovations would like to offer some tips on how to construct that concrete patio.
1. Prep work. You have to begin by excavating the area you want to transform. Completely remove everything including plant life, loose rocks and any other debris. There is no need for a perfectly level ground, but you do want the ground to be evened out. Fill in any holes, and edge off any small hills.
2. Build out. You will now need to build out the formation for your patio. It is better to spray paint the outline form. If you are going for a patio with dramatic curves, use bender boards to exaggerate to the shape. Secure the desired form using stakes pounded into the ground about every foot apart.
3. Pouring rocks. Rocks need to be set between the ground level and the concrete. Pour your rock first. Rocks need to spread approximately 2-3 inches above the ground with 3/4 inch base rock inside the concrete forms.
4. Rebar installation. Rebar reinforces the concrete and prevents it from cracking over time. Rebar is especially important in larger areas, such as patios. In a grid pattern, lay out your rebar about every 2-3 feet apart. Using pliers secure the rebar together using metal rebar ties where they cross.
5. Pouring the concrete. Mix the concrete according to sections. Once you have poured a section, begin smoothing it out within the form. It is important that it is evenly distributed. Trowels and concrete floats are the perfect tools for the smoothing the concrete.
6. Repeat the steps until the patio is completely filled in with concrete.
7. If you want to tint the concrete, you apply the concrete powder dye after the concrete has dried slightly. Toss handfuls of powder throughout the concrete, like your tossing a pair of dice. Smooth the tint over using a concrete floater. Wear rubber gloves so your hands do not get a tint job as well.
8. To add texture, throw mineral salt in a desired pattern and then using the concrete floater, gently press the salt into the concrete. Allow to set over night along with the concrete to dry.
9. Remove the forms. One the concrete is surely dry, remove the concrete forms. It is better to consult the label on your concrete to determine when the recommended drying time of the concrete is. Sweep away the salts to reveal the softly porous texture. Be sure they do not come in contact with any plants.
Professional Concrete Pouring & Finishing Home Improvements in Katy, Houston, Tomball & Stafford Texas
Where installing a concrete patio is relatively easy, it may prove challenging for people unfamiliar in concrete, or who have physical handicaps. Other people simply lack the time, inclination or know that once they start it is going to be more expensive trying to do it themselves than if they were to hire professionals. If you should fall into these categories, allow A&E Painting and Renovations to install your concrete patio for you. Contact us today for a free consultation!
Our Portfolio: